Oh my... heavenly looking picture! Check out the recipe for these Chocolate Chip Cookie Dough Cheesecake Bars at Brandy's Baking! You won't be sad you did.


 With the pattern taped to the mat, cover with a piece of freezer paper, shiny side down and tape the freezer paper down as well.
 Using the knife, carefully cut around your pattern, creating a stencil out of the freezer paper.
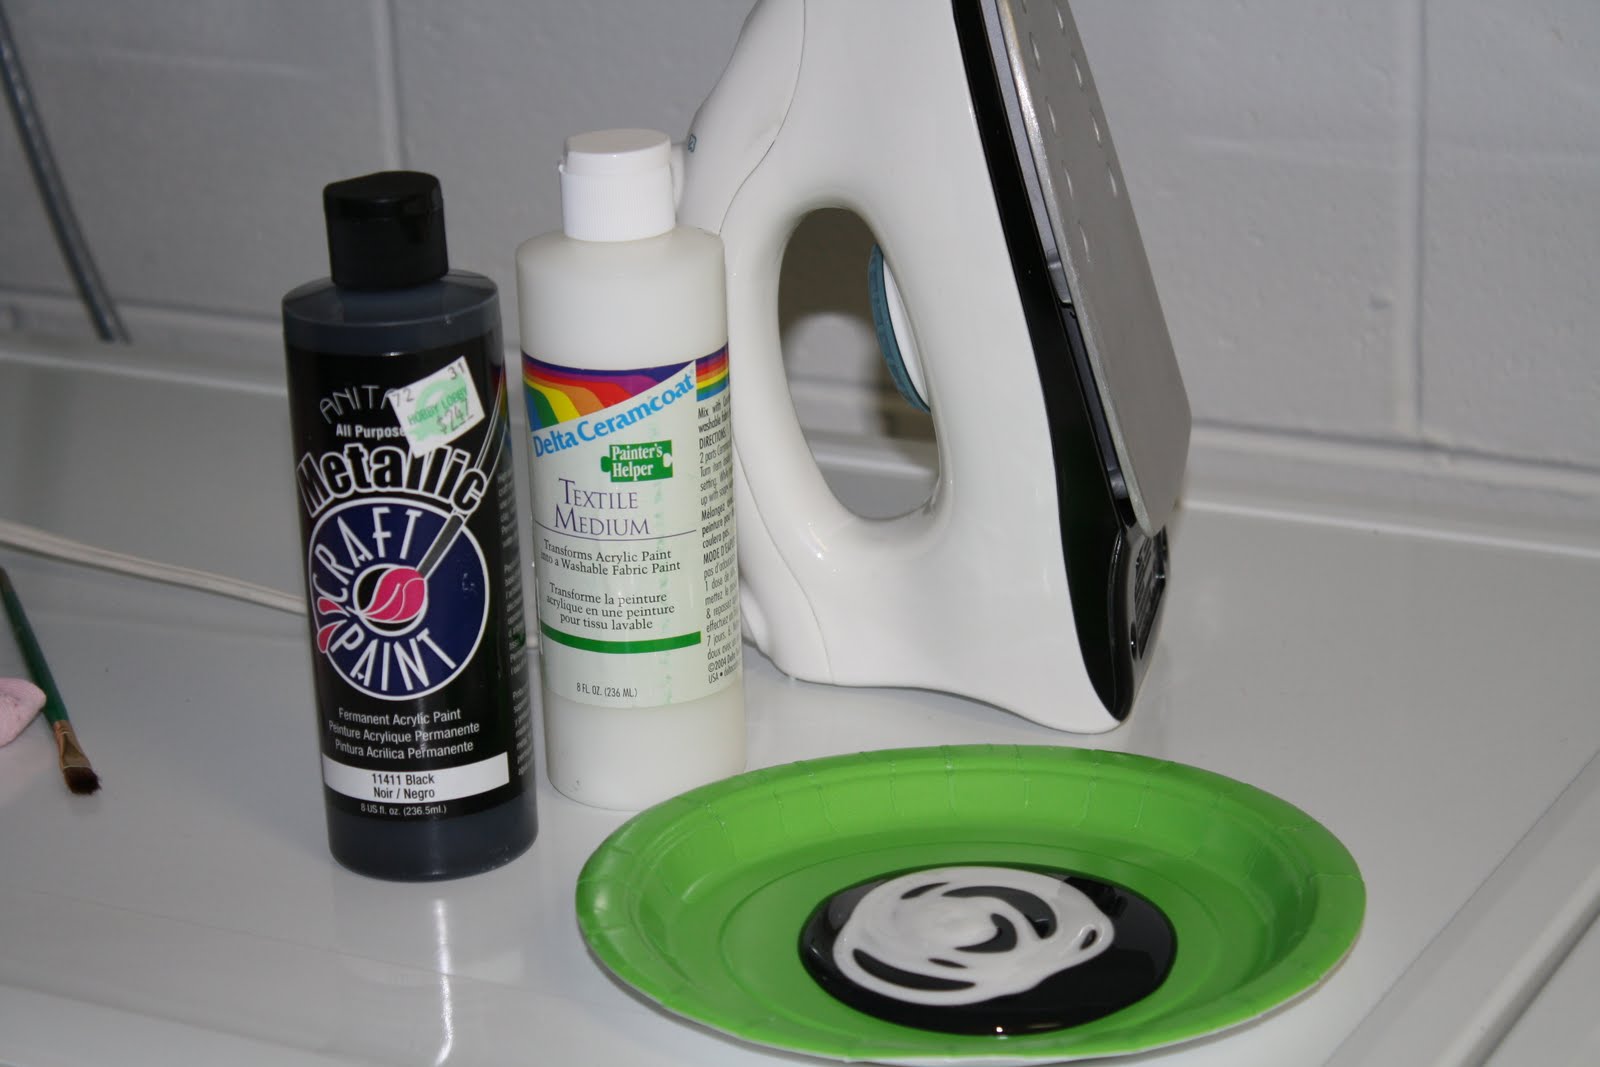
 Take a paint brush and paint on your paint in one thick even coat. Allow this to sit 1 minute... make sure the entire area is covered.
 Very carefully pull off the stencil. Allow the paint to dry overnight or at least 6 hours.
 Just for fun I wanted to trace mine in glitter.
 The bottle said it would hold up in the washer but not the case. However it still made for cute pictures.
 So cute... so easy! BTW... the plain white tees came from Hobby Lobby.
 I like the framed look, but you can also make it a background piece as a tray under a centerpiece.
 Click HERE if you want the rose ball tutorial. Or click HERE to view all my tutorials.

Click HERE for the free printable.
Check back soon for more printables or follow me:)
Linking up to...
Somewhat Simple
Tatertots and Jello
Sunday Showcase
Skip to my Lou
I Heart Naptime


 Above is the before of my plain old lamp.
 Picked up a pack of these at the market. (turned out I needed two)
 Individually flatten each one out,
 then fold in half,
 then fold that half into thirds,
 you will have a slice of pie looking thing,
 then fold your tip up in half again and place hot glue in the gray areas as shown,
 start at the bottom and get to gluing; fill in the holes as you glue upwards; try to consciously make sure you are working upwards evenly. About half way through mine I was getting tired and started spacing more... and you can tell. I would say start out spacing generously because you can always come back and fill in the holes. When you get close to the top, do a few layers where you turn the triangles downward. When your rows from the top and bottom meet you will have to trim the triangle tips off before gluing. I did about two rows this way. When you are through if you see any holes just fill in here and there. This small shade took 250 filters and 10 glue sticks:) I love it though and it fits into the decor of my daughters room perfectly.
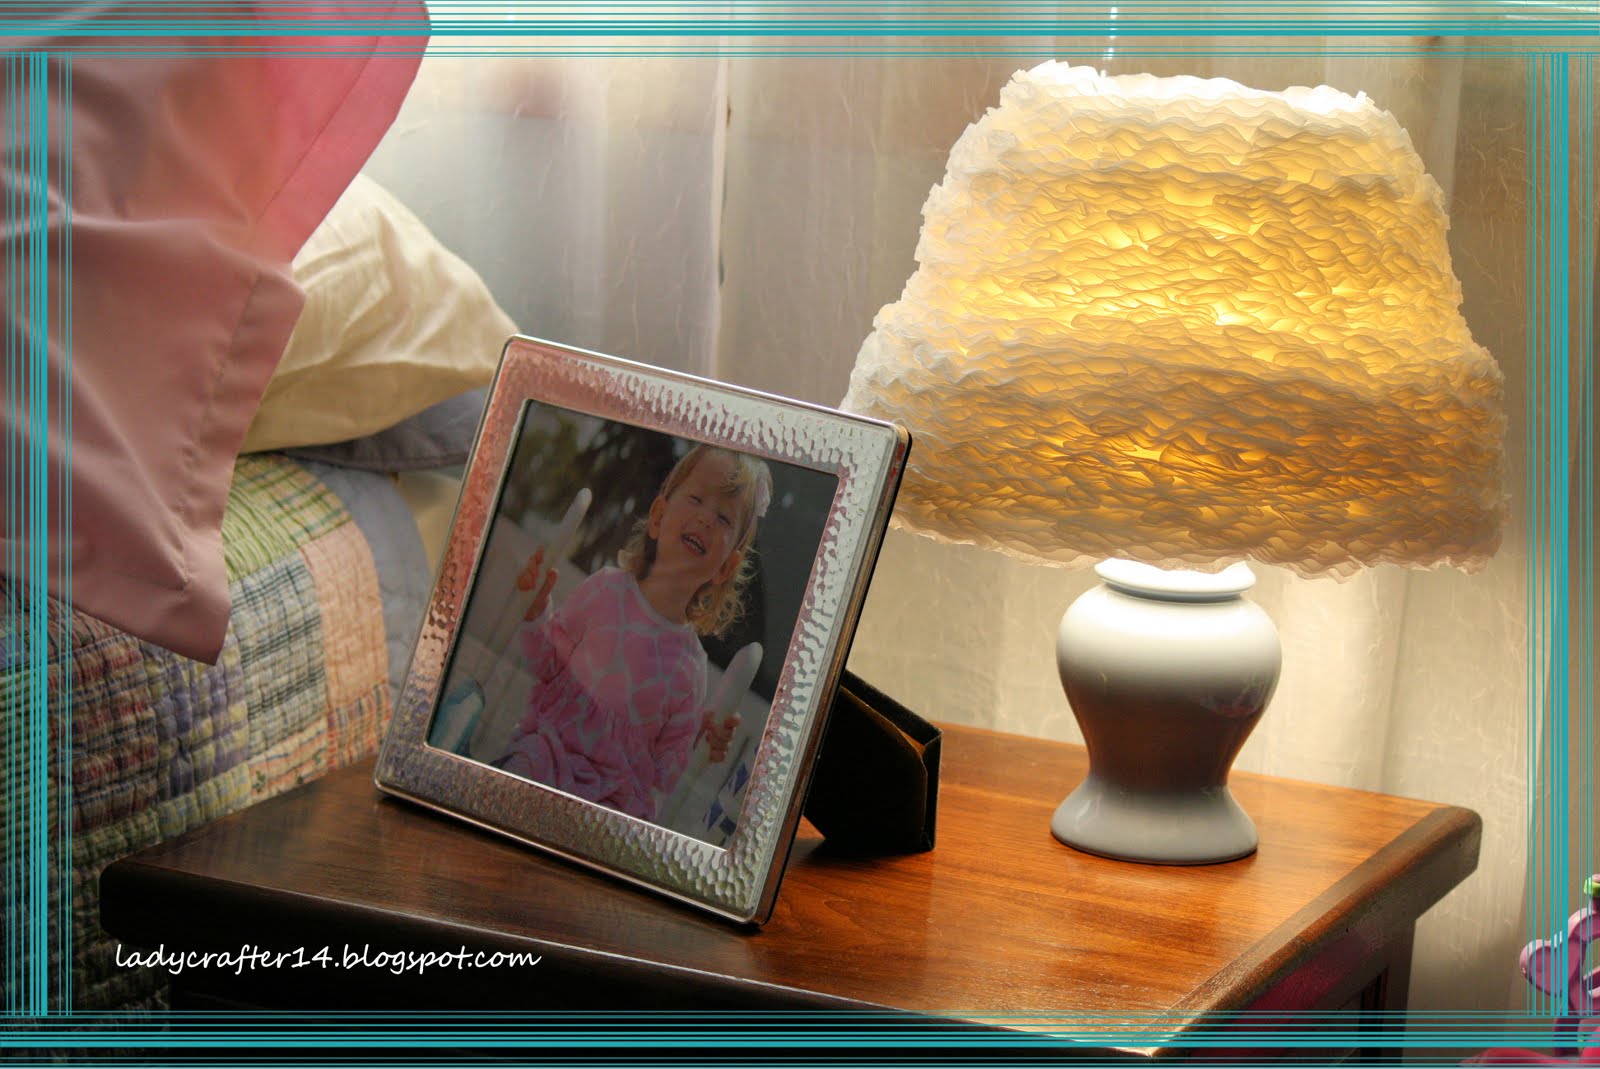


 Recipe:


